Showing posts with label recipes. Show all posts

Thursday, July 5, 2012

Canning Tomatoes: at home, without a pressure canner.

As a child, I would help my dad in the kitchen and pretend to be on a cooking show.  I would even have him set up the camcorder to record me on my show.  My favorite recipe was homemade cookies, but no matter what was on the menu, I wanted to teach the world how to make it.  As I write these recipe blogs, I can't help but be reminded of that little 8-year-old redhead who always wanted to teach people out there to cook, even if no one was listening.

Some things never change.  I could have never imagined such a thing as the Internet back then, much less a blog, but 20 years later, I'm still doing my own little cooking show.

Today's lesson focuses on canning tomatoes at home.  My dad knows someone with a green thumb and he brought me about sixty tomatoes from that person's garden.  I didn't count, but it was enough to make 18 pints of tomato sauce. Since I could never use that many tomatoes before they spoiled, and since I refuse to let anything go to waste, I canned them and stuck them in my deep freezer for future use in sauces, stews, and other tomato-based recipes.

Enough with the digression.  Here's the how-to:

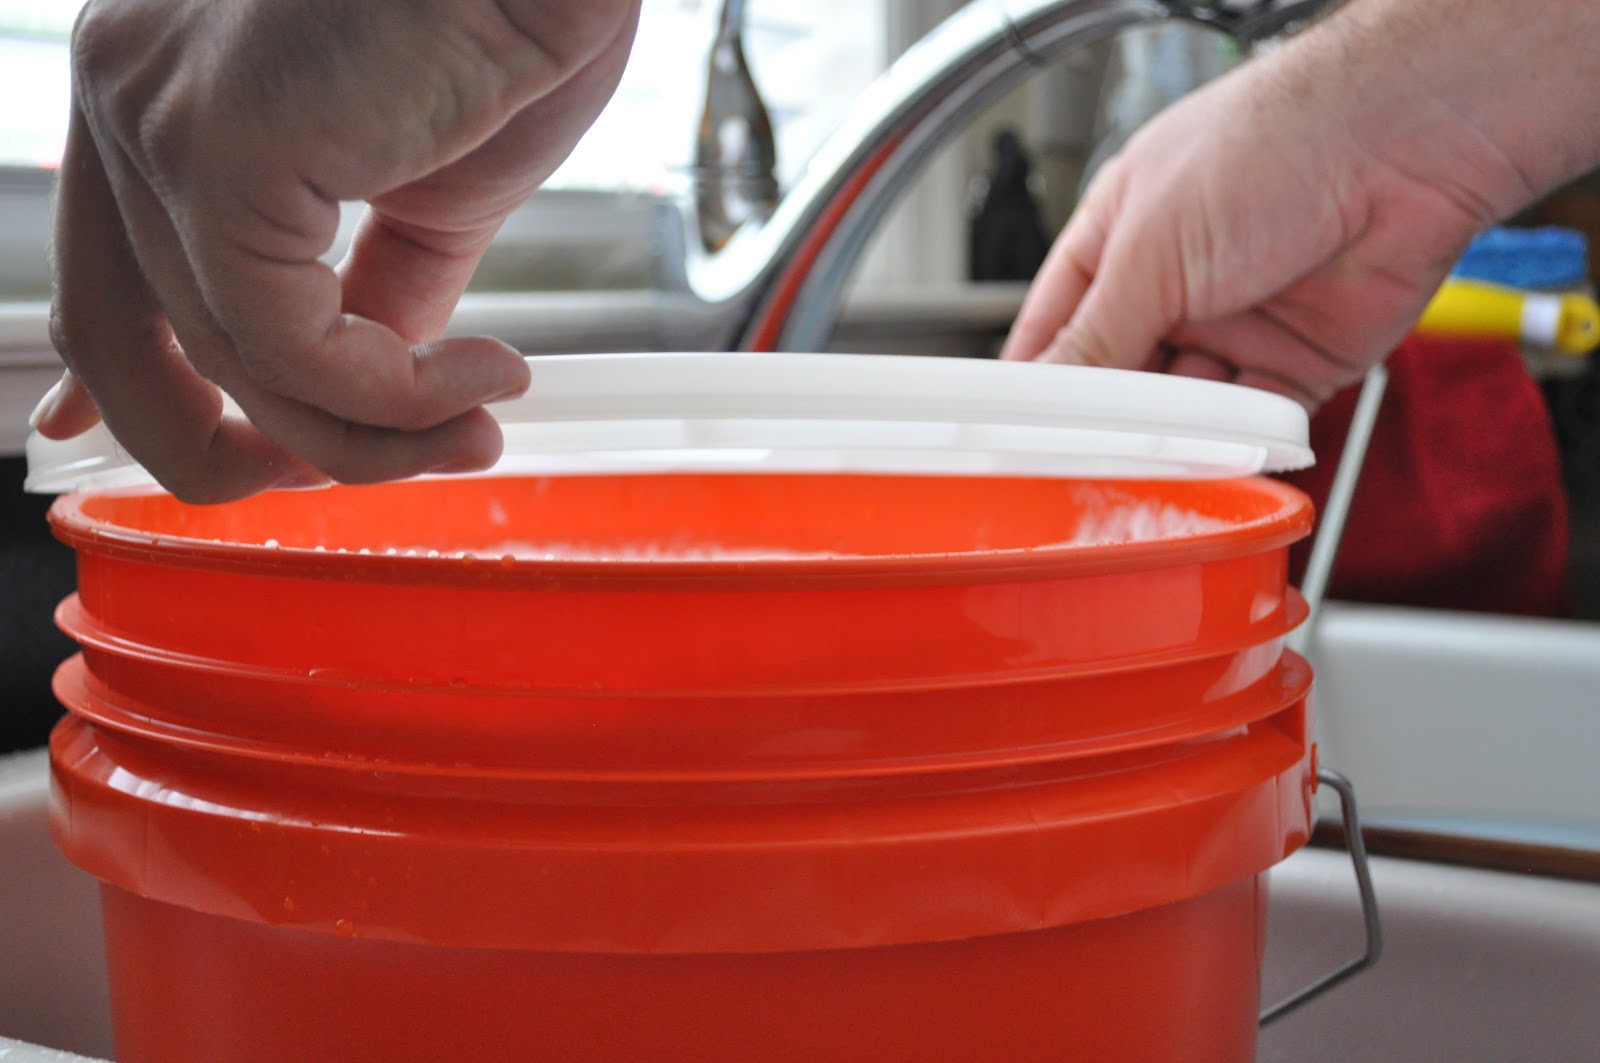
1.  Gather materials.  I didn't want to make a huge investment by buying a pressure canner and I made do with things that I have around my house in place of standard canning fare.  For this, I used: pint jars, a funnel, a large bowl, a pot for sterilizing, and a pot for cooking.


2.  Wash the tomatoes and then cut a shallow X on the bottom.


3.  Place the tomatoes a few at a time into boiling water and cook them just until the skins begin to split.  Remove them with a slotted spoon and place them into a bowl of ice water.


4.  Peel the tomatoes, core them, and dice them.  When canning a small amount of tomatoes, I just cut them up with a knife.  For a large amount, I use my food processor in the interest of time.


5.  Cook the tomatoes.  I season with some salt, sugar, and garlic.  My husband and kids have a limited appreciation for more varied ingredients.  I made sure mine got to a boil and then let it cook down a little before I canned it.


6.  When the sauce has finished cooking, place the pan in ice water to cool it down before canning.


7. Sterilize the jars in boiling water. Ideally, you pull them out and can them immediately.  Use tongs or a specially designed can holder for this.


(If my sauce hasn't cooled before I'm done sterilyzing, I will stick them in the boiling water again for a moment before I fill them, just to be sure.)

8.  Fill the jars using a funnel.  Leave 1/2" of headspace.


9.  Clean any tomato sauce from the rim of the jars and seal them.


10.  At this point, someone with a pressure canner would use that to seal the jars.  I simply leave them overnight upside down and in the morning, they are sealed.  Press the lid to make sure.  If it pops back up, the jars are not sealed.  They can then be stored in your cabinet, fridge, or freezer.


Wednesday, June 27, 2012

Homemade Laundry Detergent

As matriarch to a family of five, I often find myself doing about half a dozen loads of laundry in any given week, sometimes more when I wash bed linens.  Since I have been out of [full-time] work for the past three years, I have tried cutting back on unnecessary expenditures.  Laundry detergent is relatively expensive and I never can find good deals on it.  I purchased it in bulk from Amazon a couple of times but that still wound up being pretty costly.  I decided after doing some researching that I would make my own and it winds up only costing pennies per load.  I've been using my homemade detergent for several months now (on an $11 investment) and I'm happy with it.  My clothes stay clean and I still have a lot of detergent left before I have to make another batch (for $1).  Anyway, here's how I did it...

1.  First, gather all the materials.
  • Borax
  • Arm & Hammer Super Washing Soda
  • Fels-Naptha Soap Bar
  • 5 gallon bucket with lid
  • Empty containers (enough to fill ten gallons)

I found the first three ingredients at Wal-Mart, all neatly merchandised together by the dryer sheets.  Apparently, I'm not the only person who makes her own laundry detergent.  They came to about $7 total.  The bucket and lid came from Home Depot for about $4.  I had saved up containers for awhile knowing that I would be needing them soon.  I still didn't have enough so I wound up over concentrating my detergent into fewer containers and I still had to leave some in the bucket and refill the containers when I had used the contents.  Everything is reusable except the Fels-Naptha bar.  That is the only thing that has to be repurchased for the next load.  The Borax and Super Washing Soda go a long way, and of course the containers and bucket last indefinitely.

2.  Next, use a cheese grater to grate the entire soap bar.  (I'll be frank here, it was too hard for my delicate fingers to grate so I had my husband do it for me.)

3.  Put the shredded soap into a pot and add four cups of hot water, place it over medium heat, and stir until it has completely melted.


4.   Fill the 5 gallon bucket halfway with hot water.


5.  Add the melted soap mixture. 

6. Then add 1 cup of Super Washing Soda and 1/2 cup of Borax.


7.  Stir with something that is long enough to reach the bottom of the bucket, like a wooden paint stirrer or if you have one that attaches to a drill, that is ideal for this application.


8.  Continue stirring while filling the bucket the remainder of the way with hot water.


9.  Place the lid on the bucket and allow the mixture to sit for a full 24 hours.


When it is ready, it will have gelled slightly.  Stir again.


10.  Finally, funnel the detergent into the bottles.  Simply fill the bottles halfway and fill the remainder with water.  Shake well.  Also shake before each use.


These are some of the jars I filled.  I still had just under half of my bucket left when I ran out of containers.  I came up with some more containers and refilled some of these before I finally ran out.  This batch will last me about six months, maybe a little longer, as I do A LOT of laundry and I over concentrated the detergent in the containers.  I use this detergent in a GE front-loading HE machine and have not had any problems.  About 1/4 cup will wash a regular load of clothes.  In a regular machine, probably 1/2 cup.  You can add essential oil drops for fragrance but I found the detergent to have a nice clean smell.  The clothes don't come out with much of a smell, but they are plenty clean.  I use this detergent with a homemade fabric softener and then a regular Bounce sheet in the dryer.

Here's where the magic happens...


** I have also used this detergent on my son's cloth diapers without any ill effects.


Monday, June 20, 2011

My Semi-Homemade Ice Cream Cake

I made this ice cream cake at home but to simply call it homemade suggests that I created it from scratch.  Instead, I fashioned together a bunch of store made products that resulted in a delicious and inexpensive birthday/Father's Day cake for my husband.  I usually buy him a cake every year for his birthday which falls on or around Father's day.  I don't like the cakes from Dairy Queen because they have no cake and the only place I know of that combines real cake and ice cream is Brusters which 1) is too far away, 2) doesn't taste that great, and 3) costs too much.  So for about $10, I made my own ice cream cake for my family of five to enjoy.  Realistically, it would probably feed ten times that many people.

This WAS my first rodeo, but I think I would do everything the same.

Step 1:  Purchase materials necessary to construct the cake.

I used two boxes of yellow cake mix, three tubs of chocolate buttercream icing, one half gallon box of chocolate ice cream, and a 12x2 pan.  [Consider yourself warned: do not make a cake of this size if you do not have either a deep freezer or a LOT of room in a regular freezer.]


Step 2:  Bake both layers according to the box instructions and allow to cool completely.  The 12x2 cake bakes for 35 minutes.


Step 3:  At some point after you have allowed both layers to cook, take the ice cream out of the freezer to allow it to soften.  Line the pan in which you baked the cakes with clear plastic (aka Saran) wrap.


Step 4:  Once it has softened, spread the ice cream into the pan and put it back in the freezer to harden.  Be patient, it will be there for awhile.  When it is ready, it will look a little something like this:


Not the most appetizing sight in the world, but don't let that deceive you.

Step 5:  While your ice cream is reconstituting itself as ice cream in the freezer, go ahead and apply icing to the bottom layer of the cake.  (In ice cream cake version 2.0, I would go ahead and ice the sides of the bottom layer at this point.)  Don't ice the top layer, lest you want a mess on your hands.


Step 6:  This can get a little messy so be careful.  Pull the ice cream layer out of the pan.  Carefully peel the plastic wrap off the sides, just enough to make sure that no plastic wrap is stuck to the top of the ice cream layer.  Flip it upside down so that the top of the ice cream layer is situated evenly on the bottom layer of your cake.  Immediately arrange the top layer of cake in top of the ice cream layer.  Since the ice cream layer has probably melted a little, put the cake back in the freezer.

Step 7:  Cover the entire cake in icinv.  I iced my cake while it sat in the freezer and did it a little at a time. 

Step 8:  Slice it up and enjoy your handiwork.


Sunday, June 19, 2011

Snap, Crackle, Pop: Homemade Chicken Tenders

I caught a huge pack of chicken breasts on sale.  I normally pan fry them whole in panko and they turn out delicious but I wanted to make it more kid friendly (since I have three kids).  The result:  homemade chicken tenders that would make you want to slap your mama.  My kids loved them.  They were relatively easy to make but I had enough to feed a small army so it was somewhat time consuming.  In the picture are *most* of the ingredients I used.

*Note: I rarely use exact measurements or times. I use my best judgment.  I apologize in advance.*

In sum, you will need:
  • Chicken breasts or tenders
  • Rice Krispies
  • Eggs
  • Milk
  • Spices (I used salt, pepper, parsley, oregano, garlic powder, paprika, and parmesan cheese)
  • Extra virgin olive oil

I forgot a couple ingredients when I took the picture.  I also put my entire spice rack because I hadn't settled on my spices yet.  I had a whole box of Rice Krispies that I used in lieu of panko, since it would have taken much more than what I had in my cabinet.  Besides, I wasn't going to use the cereal anytime soon because I don't think it is fit for consumption unless you mix it with a bag of melted marshmallows.  [Incidentally, I once wrote a paper on the health food movement of the 20th century.  No discussion of that topic is complete without mentioning John Harvey Kellogg who would probably be rolling over in his grave if he knew I was using a product with his name on it to coat meat.]

The first step is to pound the chicken with a meat tenderizer then cut them into strips or nuggets.

Next, set these aside and prepare the mixture for coating the chicken.  I cracked two eggs into a bowl and then poured a little milk in there.  Whisk that up and it's ready to go.  Then pour some Rice Krispies into a bag and crush them up, if you so choose, and put them in a glass pan (or other similar receptacle).  Add whatever seasonings your little heart desires.  The spices I used are listed in the ingredients.  Again, I didn't measure.


Coat the chicken in the milk/egg concoction then press into the cereal until covered.  Pan fry in your already-heated-to-medium pan of olive oil (I use just enough to cover the bottom).  Flip the tenders when they reach a beautiful golden brown color and feel crispy.


When they finish cooking, place the tenders on a paper towel to drain the excess oil.  The Rice Krispies make these incredibly crispy (as well they should).  If you have a 19 month old, make extra.

Tuesday, June 14, 2011

My Strawberry Hamburger, for lack of a better word.

I recently attended a bridal shower for a friend of mine who happens to be the person that introduced me and my husband.  The hostess had a cake that was so simple and delicious that I had to recreate it.  I decided that this little gem would be perfect on those days when I needed to make a quick dessert for a party/shower/gathering that would be sure to impress.

I really don't know what to call it but visually it resembles a hamburger of sorts.  Here's how:

Step 1:  Purchase ingredients.

The ingredient list is quite simple. 

1. Storemade pound cake.  I used Paula Deen's Sour Cream Pound cake but there are other equally delicious varieties.  WalMart often has these cakes in the "Oops! We baked to much!" clearance section.

2.  Two cartons of fresh strawberries.

3.  Cool whip.  The small container will suffice.  This big tub was WAYYY too much.


Step 2:  Dice up the strawberries into bite size pieces.


Step 3:  Mix cool whip into strawberries.  You now have your "meat."


Step 4: Slice the pound cake in half. You now have your "bun."


Step 5:  Spread stawberry/cool whip mixture onto bottom "bun."


Step 6:  Put the top "bun" back on and put remainder of strawberry mixture in the center.


Step 7:  Slice and enjoy!